Creating Your First Form
After installing and activating the HTML Forms plugin, you should have a menu item in your WordPress admin labeled HTML Forms.
To create your first form, go to the HTML Forms menu and click the Add New link. You can also go to the All Forms link and click the Add New Form button at the top of the screen.
Choose a name for your form and hit the Create Form button. You will now be taken to the form editor, where you can actually configure your form.
Defining Form Fields
This part is what makes HTML Forms special.
Your actual form fields can be defined using normal HTML. That means you can use regular <input> elements to define what fields your form should contain.
The only thing of importance here is that each of your input elements should have a unique name attribute if you want HTML Forms to save the value of that field.
Don’t Know HTML?
If you don’t know what HTML is, you can also use our field helper to generate field HTML.
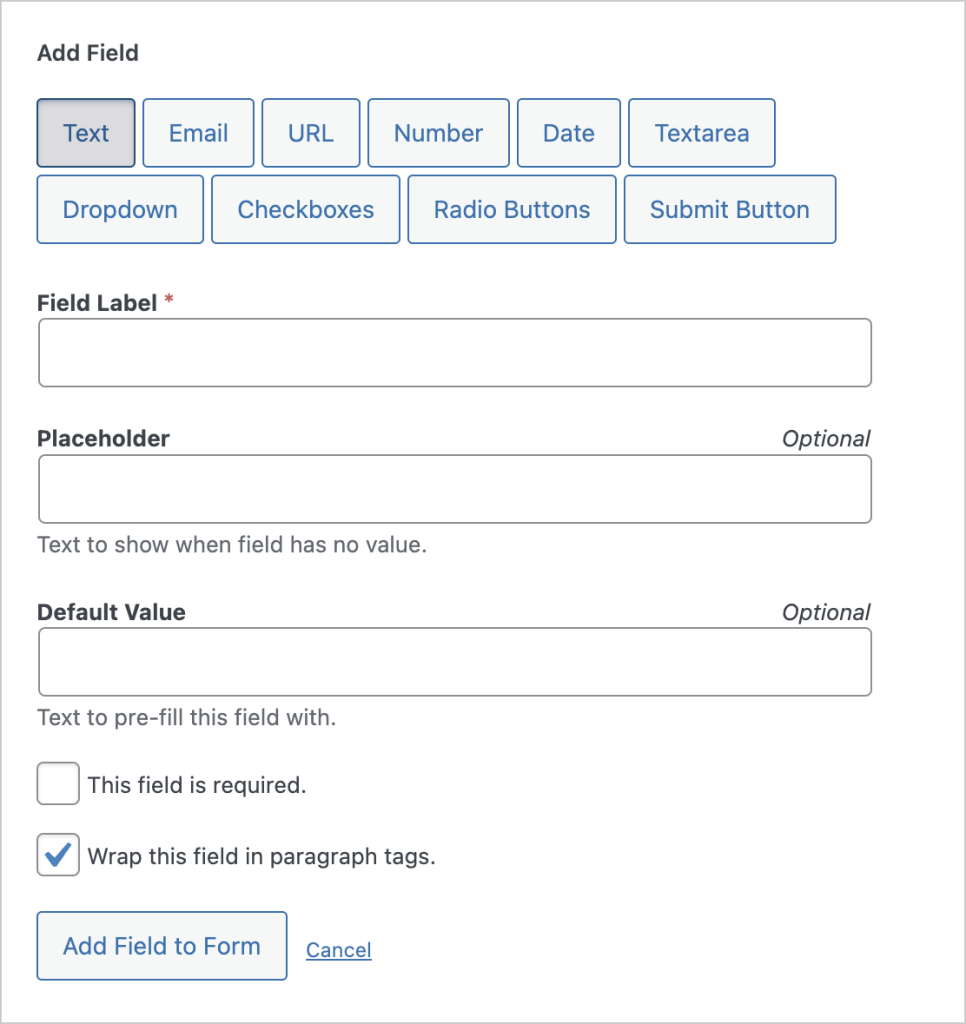
The great thing here is that you don’t have to choose yet another template language. Using our field helper should even help you learn HTML for yourself. Win-win!
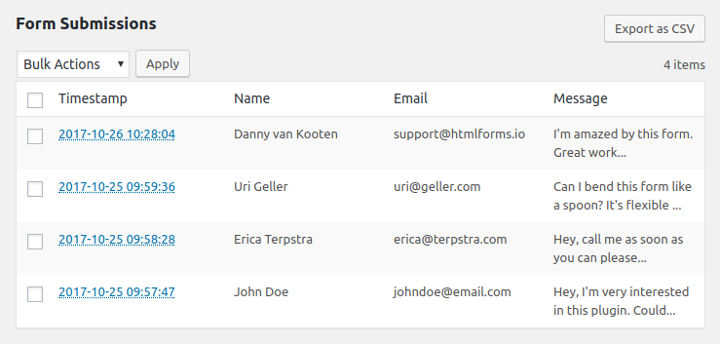
Submissions
By default, HTML Forms will save each successful form submission in your database. These submissions can then be viewed by going to the Submissions tab on the page where you edit your form.
Form Actions
You can configure additional actions to run by opening up the Actions tab and choosing one of the available actions at the bottom of that page.
Related Posts from Our Knowledge Base
HTML Forms Premium includes a feature to provide you with form submission notifications inside the WordPress admin. The notifications show you how many unread, or unseen, submissions you have. These notifications appear in the admin’s menu, on the HTML Forms list, and on each form’s Submissions tab. How Submission Notifications Appear WordPress Admin Menu A […]
You can dynamically insert variables in your form templates. These variables will be replaced with the form is shown to users.